Peel-and-Stick vs. Tile Backsplash
Planning a kitchen backsplash install Austin, Texas? Two popular paths dominate: fast, affordable peel-and-stickpanels and classic tile (think timeless subway tile). Both protect walls and add style, but they differ in durability, waterproofing, and total cost. Here’s how to pick the right option for your space and schedule.
Peel-and-Stick (Pros & Cons in Prose)
Pros: Peel-and-stick backsplash panels are DIY-friendly and incredibly quick—often a same-day refresh. There’s no wet grout, minimal mess, and most products cut easily with a utility knife or shears. They’re great for renters, temporary makeovers, or testing a new look before a full renovation. Budget-wise, materials are typically lower than tile and you’ll save on labor.
Cons: Longevity and heat/moisture tolerance vary. Some adhesives can loosen near ranges, dishwashers, or steamy zones without added waterproofing steps. Seams may show on close inspection, and complex outlet cuts require patience. Styles have improved, but under-cabinet lighting can reveal a “panel” look versus real tile depth.
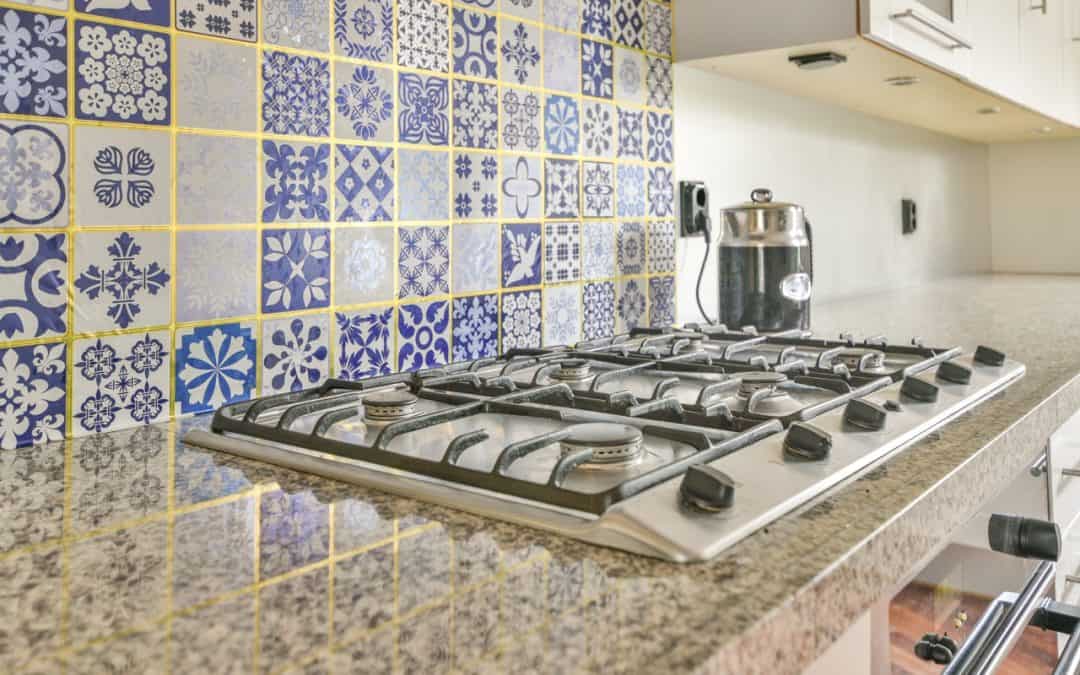
Traditional Tile (Pros & Cons in Prose)
Pros: Real tile delivers depth, durability, and resale value—especially with classic subway tile or stone. Properly installed tile with thinset, grout, and caulked edges offers superior waterproofing and stands up to Austin cooking humidity and everyday cleaning. Design options are endless: patterns (herringbone, stacked), trims, and contrasting or color-matched grout lines.
Cons: More steps (surface prep, layout, cutting, setting, grouting) mean higher labor and a longer install window. There’s dust from cuts, and grout needs sealing/maintenance depending on type. If your walls are out of square, professional layout is crucial to avoid slivers around cabinets and outlets.
A Simple Measuring Tip
Measure length of each run (in inches) from the countertop edge to the end of the cabinet line. Measure height from countertop to the bottom of the uppers (standard 18″). Multiply length × height to get square inches, then divide by 144 to convert to square feet. Add 10–15% extra for waste and pattern alignment—more for herringbone or busy patterns.
When to Choose Which
- Choose peel-and-stick if you want a fast facelift for a listing, rental, or budget makeover and your splash zone is low-moisture.
- Choose tile for long-term durability, strong resale impact, and kitchens with frequent cooking/steam where robust waterproofing matters.
Pro Tips for Either Route
- Outlets: Kill power, remove cover plates, and pre-plan cuts so cover plates hide edges.
- Edges: Finish exposed ends with metal trim (tile) or edge strips (peel-and-stick).
Sealants: Use paintable silicone at countertop and cabinet intersections for a tidy, water-resistant joint.
Thank you for taking the time with me to learn more about what Mr. Done Right, the handyman / contractor does for you.
Sincerely,
Nathaniel Peterson
(AKA) Mr. Done Right
For more information on handyman or contractor work in the greater Austin area (or beyond), please contact your premiere handyman, Nathaniel Peterson, AKA Mr. Done Right Handyman Contractor of Austin, because Mr. Done Right ensures any repairs and/or remodels get Done Right the first time! Call us now for a free estimate! 512-659-8931
Online Marketing Powered by www.OnlineMarketingExperts.agency
* Click here to protect your privacy and safety on the Internet.
Recent Comments